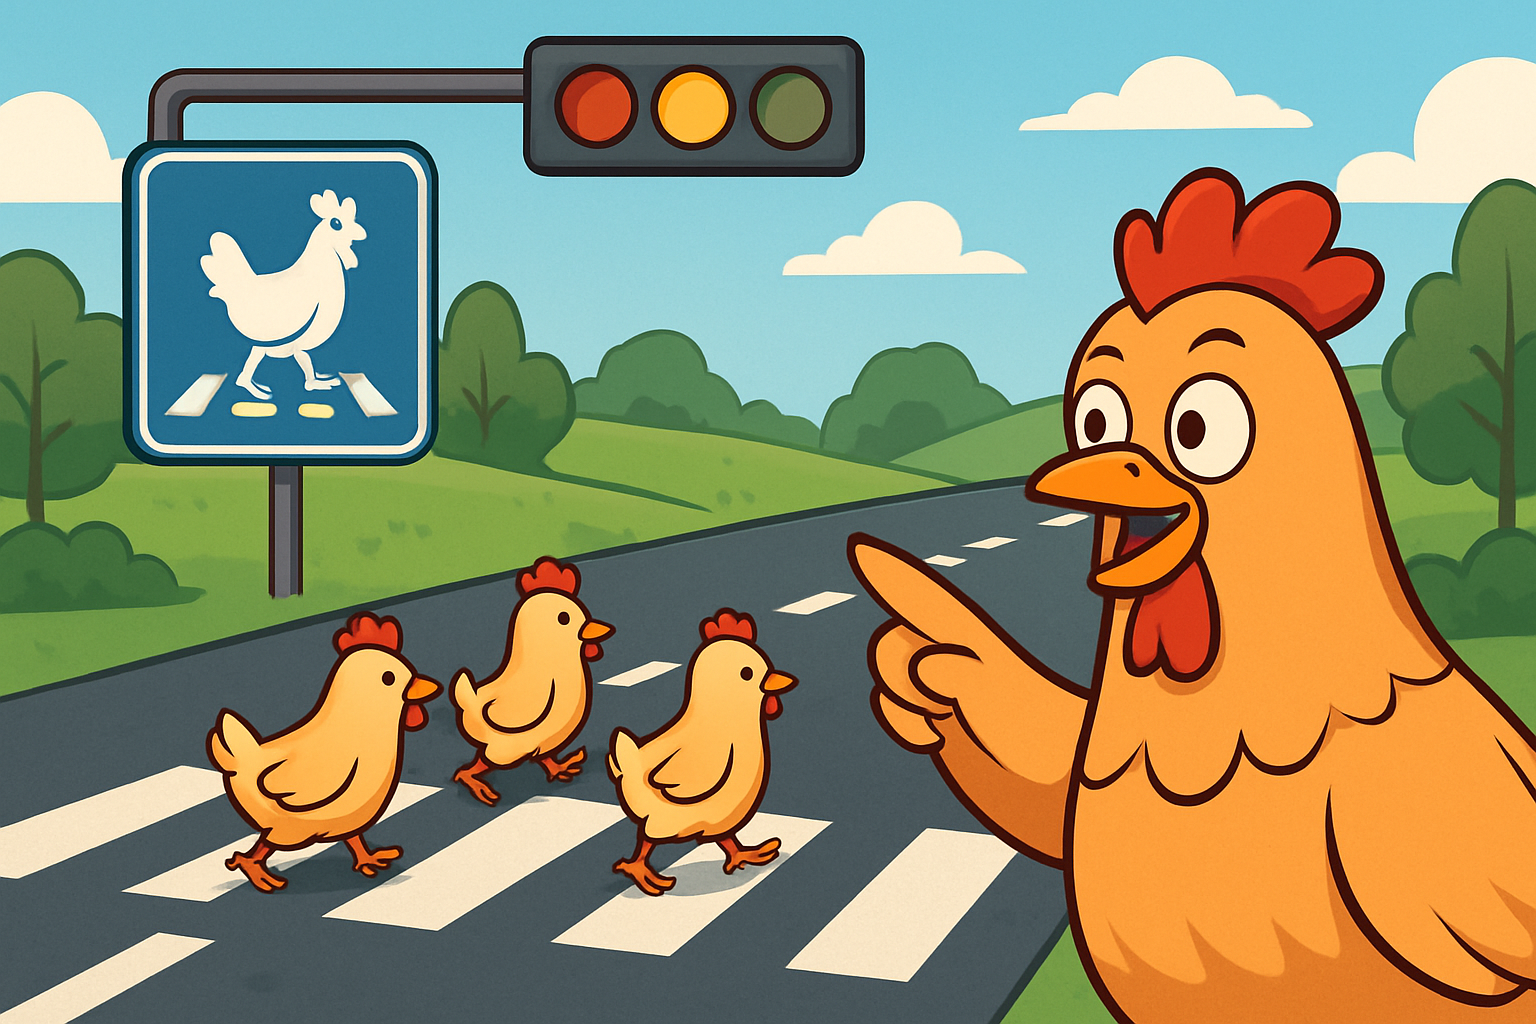
Winning runs don’t come from luck. They come from the split-second reads, micro-corrections, and an almost musical feel for when the world goes quiet and a gap opens just wide enough to slip through. Chicken Road looks simple—tap, hop, survive—but the skill ceiling is much higher than most players realize. Once you stop thinking about individual cars and start reading lane timing, spawn cycles, hitboxes, and camera rhythm, you begin to play the game that the top scorers actually play.
This pro guide pulls the curtain back on those layers. We’ll dismantle the traffic in front of you into predictable systems, name the techniques that pros use (and how to practice them), map out hazard-specific solutions for trains, rivers, and low-visibility lanes, and detail device tuning so your inputs land at the exact frame you want. You’ll also find the nuanced stuff that never makes it into short YouTube tips: safe tile strategy, two-lane buffer management, diagonal drift cadence, edge walking, pause bait, and how to extract high scores without leaning on power-ups. If you’re serious about mastering crossings in Chicken Road, this is the playbook.
Core Mechanics: Timing Windows and Spawn Cycles
The difference between surviving and thriving is timing. Not reaction time in the generic sense, but timing that’s anchored to how this frogger-like chicken game actually spawns and moves hazards. To master crossings in Chicken Road, build your decisions around three pillars: lane timing, spawn windows, and safe-tile heuristics.
Chicken Road Lane Timing Guide: Hearing the Beat
Lanes behave like metronomes. Vehicles spawn at discrete intervals and maintain consistent speeds within a lane. Your job is to “hear” that beat—visually—so you don’t chase openings but arrive where they will be.
- Identify lane speed tiers. Most maps rotate between slow, medium, and fast lanes. Slow lanes give you long, forgiving gaps; fast lanes compress opportunities but also scroll past quickly, clearing space behind them.
- Count beats, not cars. Stand one tile from the lane and “count” the time between two same-type vehicles passing. You will get a rough internal metronome—one-e-and-a, two-e-and-a—inside which your hop cadence fits.
- Hold your rhythm. The best runners hop in a steady tempo that aligns with the lane’s beats. Changing tempo is possible, but each change costs mental overhead and increases mistake risk.
Chicken Road Gap Timing Chart (typical feel; adjust to the map in front of you):
- Slow lane: 2–3 hop beats per safe gap. Great for double-step entries.
- Medium lane: 1–2 hop beats. Often requires diagonal crossing technique.
- Fast lane: 1 hop beat or less. Usually demands pause bait or S-curve dodges.
Traffic Pattern Recognition and How to Read Vehicle Spawn Cycles
Vehicles usually don’t spawn purely at random. Lanes tend to run on cycles—patterns that repeat after a short sequence—especially when the camera pushes you forward consistently.
- Watch for pattern “families.” You might see a slow truck, then two cars, then a small gap, then repeat. Once you recognize the family, anticipate the third cousin before it appears.
- Use tail-light tracking. The easiest tell isn’t the front vehicle—it’s the spacing between rear lights as they pass. Consistent spacing means consistent beats.
- Count to a reset. Many lanes quietly reset after a handful of spawns. If a lane suddenly desyncs, maintain your normal pace and watch two more spawns; often, it re-locks into the earlier rhythm.
- Cross during the chill. Spawn windows sometimes “rest” for a beat—no car appears when the cycle would otherwise place one. That silent frame is your safe tile to step into and commit across multiple lanes.
Safe Tile Strategy and the Two-Lane Buffer Rule
Safe tiles are everything. On foot, tiles are either “safe now” or “safe soon,” and knowing the difference saves runs.
- Safe-now tiles: Nobody can hit you in the next beat. Perfect for quick resets or micro-stutter hops.
- Safe-soon tiles: Not safe yet, but will be safe in one beat if the current wave clears. Stand adjacent if you can, then step in exactly when the tile converts.
The Two-Lane Buffer Rule: Never enter a lane unless you have a plan for the next lane too. Your buffer is your margin. For high-density traffic, treat lanes in pairs—commit to the first only if you can land on a safe-now or safe-soon tile in the second. That prevents the classic mid-lane freeze where you’re safe in lane one but doomed in lane two.
Camera Scroll Behavior and Off-Screen Risk
The camera doesn’t care about your nerves. It nudges forward relentlessly. That pressure is part of the difficulty curve at high scores.
- The horizon line. Imagine a horizontal band three tiles from the top of your screen. Anything entering this band is your next decision. Below that band is execution; above is forecasting.
- Backscroll is not your friend. Stepping backward can reset your rhythm, but doing it often shifts spawn alignment. Keep backward hops minimal and intentional, usually to reset a bad pace or bait a fast lane.
- Edge rule: Do not live at the top. Being glued to the top gives you no read time on new spawns. Live in the mid-screen band, where you can read two beats ahead.
Micro-Movement: Diagonal Drift, Edge Walking, S-Curves
Crossings are won with micro-tech. Tiny inputs, deliberately placed, open lines that don’t exist for players who only move straight. These are the advanced dodging techniques Chicken Road pros drill daily.
Advanced Dodging Techniques in Chicken Road
- Micro-stutter: A quick tap that nudges your character into or out of the lane by a half-beat without committing to a full tile advance. Use it to desync your rhythm from a dangerous lane, or to create timing parity with a gap two lanes ahead.
- Frame holds: Briefly holding position on a safe tile between beats to preserve your tempo. It’s better to skip one beat intentionally than to panic-hop and lose your pattern.
- Pivot step: A sideways hop at the last legal frame into a neighboring tile before continuing forward. It buys a sliver of time while keeping forward momentum ready.
Diagonal Crossing Technique: The Pro’s Shortcut
The diagonal crossing technique is the backbone of high-score play.
- Why it works: Vehicles move horizontally. Diagonal steps create a moving seam where your forward progress and the vehicle’s lateral movement cancel into an opening that appears to slide as you step.
- How to execute: As a gap opens, step forward and immediately angle one tile to the left or right, then forward again. Think “forward-diagonal-forward.” Maintain the same beat you counted from the lane’s rhythm.
- When to use: Medium and fast lanes, multi-lane pairs, or when a strictly forward line is blocked by staggered bumpers. Diagonals can carry you across two lanes in the time it would normally take to cross one and a half.
S-Curve Dodge and Pause Bait Technique
S-Curve Dodge:
- Concept: Instead of going straight, shape your path like an S to “ride” the side of a vehicle’s hitbox, then cut back the opposite way.
- Use case: Tight stacked lanes where direct diagonals would collide with the second lane’s bumper. The S buys you the fractional beat needed to slip the second lane.
Pause Bait:
- Concept: Step toward a dangerous lane just enough to trigger your internal count and confirm the gap, then freeze for a micro-beat so the approaching vehicle clears. Immediately follow through.
- Why it works: Many players rush the first sliver of space. Pause bait aligns your entry with the biggest gap inside the cycle, not the earliest one.
Edge Walking and Hitbox Nuances
Edge walking is the art of living on the invisible line where your hitbox is safe but the visual looks terrifying.
- The outer pixel grace: Your hitbox is slightly smaller than your character sprite. This lets you “brush” vehicles without dying. Don’t rely on this constantly, but understand it to unlock tighter crossings.
- Side-walk lanes: On slow lanes, you can step into a lane just enough to show a toe, then walk sideways along the lane edge for a beat before committing forward. It’s risky but opens paths others won’t see.
- Hitbox nuances: Corner clipping happens when your diagonal drift stops half a tile early and a bumper’s corner tags you. Commit fully on diagonal inputs; timid diagonals kill more runs than brave ones.
Technique Quick Reference
| Technique | Input Sequence | Best Use | Risk Level |
|---|---|---|---|
| Diagonal Drift | forward-diagonal-forward | Medium/fast lanes, two-lane combos | Medium |
| S-Curve Dodge | diagonal-opposite diagonal-forward | Dense pairs, staggered bumpers | High |
| Edge Walking | partial lane step + lateral | Slow lanes with clear side space | High |
| Pause Bait | micro forward commit + hold + go | Fast lanes with tight windows | Medium |
| Micro-Stutter | tap-hold-tap within 1 beat | Rhythm sync, lane desync fixes | Low |
Map-Specific Crossings: Trains, Rivers, Night Mode, Desert/Snow
Every hazard type rewrites the rules a little. Don’t play trains like cars or rivers like roads. Treat each with a dedicated mental model and timing method.
Chicken Road Train Crossing Strategy
Trains are brutal not because they’re unpredictable, but because they’re fast and punish hesitation.
- Read the warning early. The audio cue and flashing lights precede the train by a consistent interval. The moment the cue appears, decide: either cross immediately if you’re two tiles from safety or retreat to a safe tile and reset cadence.
- Never stand on the rail. The buffer tiles immediately before and after a rail are your real working space. Occupy them confidently; they are safer than late attempts to “sneak” a rail hop in the final frame.
- Double-rail strategy. On maps with two parallel rails, treat both rails as a single three-step sequence: buffer tile → rail 1 → rail 2 → buffer tile. If you can’t commit all three beats, do not enter the first rail.
- Train spawn cycles. Often, trains come in waves with a short rest window between. Many high-scorers deliberately stall on a buffer tile to catch the rest, then take the full three-step sprint.
River/Log Timing in Chicken Road
Rivers punish impatience. Logs and lily pads are moving safe tiles; understanding their parity is everything.
- Parity matters. If logs move right, your forward hop combined with the log’s motion can cause you to land a tile farther right than expected on your second hop. Plan two hops ahead, not one.
- Ride then cut. Jump onto a log near its trailing end, ride it half a beat to maximize the open space to your exit bank, then cut diagonally off. This minimizes exposure to both the current and incoming hazards.
- Avoid the center cluster. Mid-river logs often compress into tight groups; exits are cleaner near the edges where logs fan out. Edge lanes also give you an extra beat of visibility for incoming logs.
Night Mode Visibility Tips
Night lanes steal information. You trade pure reaction for memory and rhythm.
- Shine zone. Some characters or power-ups give a wider glow. If you lack that, tighten your hop cadence to a consistent beat so you can cross “blind” through expected gaps based on earlier spawns.
- Use reflections and sound. Headlights spill light onto adjacent tiles. The faint audio pitch of fast vehicles is a reliable cue; fast pitch means do not enter.
- Reserve diagonals. Avoid aggressive diagonal drift when visibility is lowest. Commit only to diagonals where you’ve confirmed both the entry and exit tiles are clear.
Desert and Snow Map Crossing in Chicken Road
Desert:
- Sand lanes eat momentum. Treat them as half-friction tiles; play with micro-stutters to keep your rhythm stable.
- Dust gusts hide cars briefly. When gusts hit, default to safe-now tiles and reestablish visual confirmation before reentering traffic.
Snow:
- Ice tiles have slide inertia. Always enter ice with a plan to exit at a diagonal; straight exits can overshoot you into a lane you didn’t plan to enter.
- Snowdrifts can slow your forward hop by a fraction. Compensate with earlier commits on fast lanes or add a micro-stutter before the drift to reset the beat.
Characters and Power-Ups for Long Runs
Choosing the right character isn’t cosmetic in advanced play. Hitbox clarity, animation timing, visibility effects, and power-up synergy change how you read lanes. Below is a functional tier list focused on crossings and high-score stability.
Best Character for Crossings in Chicken Road: Tiered Picks
S-Tier (Crossing Specialists)
- Clear silhouette, tight footstep timing that matches lane beats well.
- Slight glow or high-contrast design helps in night lanes.
- Low visual “splash” on hops so you can see edge tiles.
A-Tier (Strong All-Rounders)
- Good animations, no obstructive particle effects.
- Neutral to small hitbox feel; strong on rivers.
B-Tier (Style Points, More Work)
- Flashy effects or bulky sprites obscure safe tiles.
- Fun, but require extra precision and a slower tempo.
Example Character Traits Table
| Tier | Traits That Matter | Where They Shine |
|---|---|---|
| S | High-contrast, precise hop animation, subtle sound cues | Night mode, trains, fast lanes |
| A | Balanced visibility, neutral sound, clean landing frames | Rivers/logs, multi-lane pairs |
| B | Big effects, ornamented models, unusual sounds | Casual play; practice only |
Power-Up Synergy for Crossings and High-Score Efficiency
- Vision boosters: Any power-up that widens your light cone or increases contrast is invaluable in night or weather lanes. Combine with pause bait to turn once-lethal stretches into routine crossings.
- Slow-time pulses: Use sparingly on trains or two-lane fast pairs. Trigger a beat before entering, not during the lane, so you gain extra reading time as you step in.
- Score multipliers: Multipliers are better spent on stretches where you can sustain high pace with low risk—medium lanes and clean rivers—rather than chaotic urban clusters.
How to Unlock Characters Without Breaking Pace
- Mission stacking: Choose daily/weekly missions that align with natural play—distance milestones, coin counts—so you don’t adopt risky behaviors mid-run.
- Coin discipline: If a mission asks for coins, farm on controlled maps (more on coin farming later) rather than forcing coin grabs in hostile traffic.
High-Score Strategy: Coin Routes, Multipliers, and Risk Management
Your high score strategy isn’t a scramble for every coin or every power-up. It’s a disciplined balance of pacing, risk thresholds, and recovery plans.
Chicken Road Coin Farming Route
- Cluster awareness: Coins tend to spawn in semi-regular clusters along lanes or near safe-now tiles. Don’t cross a lane just for a single coin; wait for rows or triangles of three or more.
- River rich: Rivers produce coins that drift into predictable paths. Ride a log from its trailing end and collect along the way; exit with a diagonal when you’ve bagged a cluster.
- Train banks: Coins stack near rails because casual players avoid them. Master the three-step rail sprint to raid those banks without losing tempo.
Chicken Road High Score Strategy Without Power-Ups
- Score pacing: Set a base pace you can keep indefinitely—steady hop cadence, minimal backscroll. Only accelerate when you see a high-confidence pattern window.
- Multipliers by behavior: Even without power-ups, you can create multiplier-like efficiency by stacking safe-soon tiles and chaining two-lane crosses with diagonals. Fewer pauses = more tiles per minute = higher score.
- No-death run mentality: Treat every hop as recoverable until the commit. Many deaths happen when players “hope” through a questionable gap. If a gap is even slightly off, bail to a safe tile and replan.
Risk Thresholds and Recovery Strategies
- Red, yellow, green system. Green: go without question. Yellow: go with micro-tech (diagonal, pause bait). Red: do not go. It’s simple, but when your score climbs, simplicity saves your brain.
- Reset beats. After a scramble or near-miss, take a deliberate micro-stutter on a safe-now tile. Let your heart rate drop one beat; then re-sync to the lane metronome.
- Bad lane reset: If a lane pair is hostile, drift laterally two or three tiles. Often the same pair becomes survivable a few tiles left or right due to spawn offset.
Devices and Settings: Best Controls and Performance
Winning runs rely on mechanical clarity as much as strategy. Input lag, frame drops, and poor sensitivity sabotage great decisions. Dial your setup in and you’ll feel the difference immediately.
Best Controls for Chicken Road Mobile and Sensitivity Settings
- Touch controls: Keep swipe distance short and consistent. Long swipes introduce timing variability. Your finger should travel the same distance per hop—precision breeds rhythm.
- Sensitivity: If adjustable, set sensitivity so a moderate flick registers exactly one tile. Test by performing ten consecutive forward hops; if you drift sideways or double-step, reduce sensitivity or slow your flick.
- Controller vs touch comparison: Controllers offer consistent travel and less finger fatigue, but touch screens give shorter travel time for rapid corrections. For fast-lane maps, touch often yields slightly better diagonal cadence; for long endurance, controllers reduce micro-mistakes over time.
60 FPS Mode, Reducing Lag and Frame Drops
- Prioritize 60 fps mode. Stable frame timing aligns with lane beats. Fluctuations create phantom windows—gaps that exist on one frame but not the next.
- Reduce load: Close other apps, disable background recording overlays, lower effects if possible. Choose a stable performance mode over high visuals.
- Battery vs performance: Battery saver often throttles CPU/GPU, causing micro-stutter. For serious runs, plug in or use a high-performance profile.
Recommended Performance Setup
| Setting | Recommendation | Why |
|---|---|---|
| Frame Rate | 60 fps locked | Smooth timing windows |
| Sensitivity | One-flick-per-tile | Predictable cadence |
| Visual Effects | Medium or Low | Fewer obscured tiles |
| Background Apps | None | Reduce stutter |
| Input Method | Touch for speed / Controller for endurance | Match map and play length |
Input Lag Troubleshooting and the “Hitbox Bug or Lag” Fix
Most “hitbox bugs” are perception gaps caused by lag or inconsistent frame pacing.
- Calibrate your feel: Watch replays at half speed if available. You’ll often see a late diagonal or an early pivot step.
- Turn off post-processing: Bloom and heavy shadows delay on-screen clarity, which reads as input lag.
- Re-seat your grip: On mobile, thumbs creeping up the screen add travel distance. Reset grip every minute or two on a safe-now tile.
Advanced/Competitive Angle: Speedruns, WR Mindset, RNG Control
Competitive runners approach Chicken Road like a time trial with evolving track cylinders. When you’ve internalized core movement, this is where you start shaving seconds and stacking distance.
Chicken Road Speedrun Routes and World Record Strategies
- Route discipline: Pros run with a preferred lateral bias—favoring left or right—so they manage camera scroll and spawn alignment consistently. This reduces surprise clusters.
- Early acceleration, mid stabilizing: Open with aggressive diagonals while the map density is lower, then downshift to your base pace during midgame traffic complexity.
- Optimized river exits: On river maps, top runs plan exits three logs ahead, using ride-then-cut diagonals that slice through coin clusters without additional risk.
RNG Manipulation in Chicken Road (What You Can and Can’t Control)
- Desync with micro-stutter: A single micro-stutter or backward hop can desync lane patterns just enough to transform a hostile pair into a cooperative one.
- Camera pacing as influence: Maintaining a consistent hop cadence tends to stabilize spawn windows relative to your position. Your rhythm, paradoxically, “organizes” RNG into patterns you can predict.
- What you can’t do: You can’t force a specific vehicle type or coin spawn on a tile, but you can delay your entry to catch the cycle’s rest window.
Hitbox Nuances in Competitive Context
- Consistent corners: Train yourself to commit diagonals fully to avoid corner clips. The mental model: hit the “overcommit” point just beyond what feels safe; it’s often the exact safe zone.
- Horizontal overshoot: Be mindful that some characters land with a slight forward-slide animation. Time your S-curve or pivot step at the end of the animation, not the start.
Pro Drills and Practice Routines
You can train lane timing and micro-tech like muscle memory. The goal is to build reliable crossing behavior so your brain can stay in the big-picture rhythm.
Pattern Flashcards
- Build a mental library: Spend two minutes per session watching a single lane without crossing, naming the pattern: “car-car-gap, truck-long gap, car.” Say it out loud if needed. Then run it.
- Variation drill: After you’ve named a pattern, insert a micro-stutter and watch how the pattern shifts. Learn which desyncs are helpful and which create chaos.
Ghost-Tile Method
- Concept: Imagine ghost versions of vehicles two lanes ahead and practice stepping into the tile that will be safe in one beat, not the one that is safe now.
- Execution: On medium lanes, stand one tile back, count one beat, then step into the tile that will be safe on the next beat. Do it until it feels normal to enter “future” safety.
Two-Minute Warm-Ups
- Cadence warm-up: Two minutes of forward-only hops on a flat stretch to lock in your beat.
- Diagonal ladder: Alternate left-diagonal, forward, right-diagonal, forward for one minute. The goal is to keep timing perfectly even.
- Pause bait tap: Practice a micro forward, brief hold, forward again—ten repetitions on a safe stretch to prime your timing for fast lanes.
Common Failure Drills
- Late diagonal clinic: Set a timer and run diagonals only when the gap is half-closed. This forces you to commit to exact frames. You’ll die a lot in practice, then live more in real runs.
- Two-lane buffer sprint: Pick pairs of lanes and refuse to enter unless you can commit to both in one breath. Build the habit of seeing pairs, not singles.
Common Mistakes and Fixes
You can diagnose and fix most deaths. Treat each failure as a data point, not a shot to your confidence.
- Mistake: Entering a lane without a second-lane plan. Fix: Two-lane buffer rule—pair your decisions.
- Mistake: Chasing the first visible gap. Fix: Pause bait and enter on the largest gap inside the cycle, not the earliest.
- Mistake: Overusing backscroll. Fix: Live in the mid-screen band; keep your rhythm and reduce backward hops to intentional resets only.
- Mistake: Corner clipping on diagonals. Fix: Commit fully; diagonal drift is a single, decisive input, not two timid ones.
- Mistake: Greed on coins. Fix: Only commit for clusters or coins that sit on safe-now tiles. Single coins in hostile lanes are score-negative over time.
- Mistake: Night mode panic. Fix: Tighten cadence, trust the beat you counted, and look for reflections instead of full vehicle confirmation.
- Mistake: Panic on trains. Fix: Either full three-step commit or full abort. No half measures on rails.
- Mistake: Sloppy device setup. Fix: Lock 60 fps, close background apps, set one-flick-per-tile sensitivity.
Chicken Road Advanced Guide: Putting It All Together
Crossings at pro level are a loop:
- Gather information: Read spawn cycles, confirm lane speeds, note rest windows.
- Set rhythm: Establish your hop cadence and preserve it aggressively.
- Choose a framework: Two-lane buffer, diagonal drift, or S-curve based on the hazard in front of you.
- Commit with micro-tech: Pause bait, micro-stutter, edge walk as needed.
- Reset smartly: When a lane disrespects your plan, bail to safe-now tiles and re-sync.
As your score climbs, mental fatigue becomes real. That’s why you build rituals: the two-minute warm-up, the red/yellow/green risk filter, the mid-screen living rule. Pros don’t win because they react better; they win because they reduce the number of real decisions they need to make. They’ve already made them in practice.
FAQ
How do you cross multiple lanes quickly in Chicken Road?
Use the diagonal crossing technique with a two-lane buffer plan. Step forward-diagonal-forward to ride the moving seam across both lanes. Enter only when the second lane has a safe-now or safe-soon tile. If both lanes are fast, add a pause bait before entry.
What is the best timing method for traffic gaps in Chicken Road?
Count beats, not cars. Stand one tile back, read the lane’s rhythm, and commit on the largest gap inside the cycle, not the first sliver of space. Use micro-stutters to desync hostile pairs and regain alignment.
Which character is best for long runs in Chicken Road?
Pick a high-contrast, clean-animation character with minimal visual clutter. S-tier picks have precise hop frames and a slight glow for night lanes. Avoid bulky or flashy characters that hide safe tile edges.
How do I avoid trains and fast vehicles in Chicken Road?
Treat trains as three-beat sprints: buffer tile → rail → rail → buffer tile. Commit fully or not at all. For fast vehicles, use pause bait to align your entry with the biggest gap and lean on diagonal drift to cross two lanes in one cadence.
How can I farm coins fast in Chicken Road?
Target clusters on rivers and near rails. Ride logs from the trailing end and exit diagonally through coin lines. Ignore single coins in hostile lanes; go for groups of three or more that sit on safe-now tiles.
What settings reduce input lag in Chicken Road?
Lock 60 fps, close background apps, lower effects, and tune sensitivity so one flick equals one tile. Touch controls give fast corrections; controllers reduce fatigue. Choose based on your run length and map.
How do I practice crossing patterns safely?
Use pattern flashcards on a single lane for two minutes, then the ghost-tile method to step into tiles that will be safe next beat. Drill diagonal ladders and pause bait on safe stretches until timing feels automatic.
Chicken Road Pro Tips: Quick Reference Checklist
- See pairs, not singles: Two-lane buffer rule at all times.
- Keep the beat: Count rhythm and preserve cadence with micro-stutters.
- Diagonal is default on medium/fast lanes: forward-diagonal-forward.
- S-curves are surgical: Use only for staggered pairs or tight trains.
- Live mid-screen: More read time, fewer panic hops.
- Coins in clusters: Farm where the map is cooperative, not chaotic.
- Tune your device: 60 fps, one-flick-per-tile, minimal visual clutter.
- Reset after chaos: One deliberate beat on a safe-now tile restores control.
Final Thoughts on Master Crossings in Chicken Road
At high scores, the game becomes a conversation. You, the lanes, the camera, and the rhythm all talk to each other in beats and angles. When crossings feel effortless, that’s not magic—it’s muscle memory and thoughtful systems: lane timing guides, traffic pattern recognition, diagonal crossing technique, S-curves in reserve, and device settings locked to your hands. The drama of Chicken Road is learning to calm your mind as everything around you accelerates, to see order where others see noise.
Build your cadence. Name your patterns. Practice the drills until your fingers write diagonals without asking permission. Then step into the road and let the map come to you. That’s where the long runs live, and that’s how you master crossings in Chicken Road.